
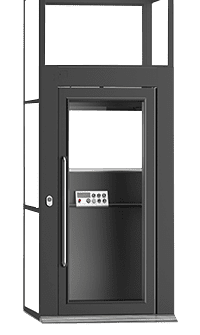
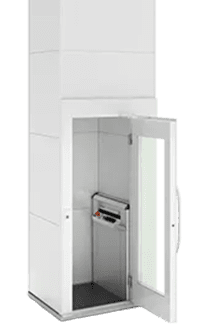
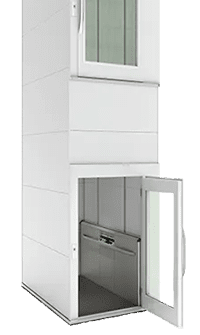
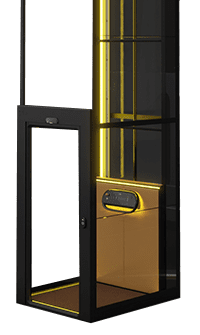



<p id=”v90-selector” style=”text-align: center; font-size: 22px; color: #fff;”>X80 Shaft Cabin Lift</p>
<p id=”x50-selector-onx30″ style=”text-align: center; font-size: 22px; color: #fff;”>X50 Platform Lift</p>
<p style=”text-align: center; font-size: 22px; color: #9dbaeb;”><span class=”underline-dark”>X30 Shaft-less Cabin Lift</span></p>

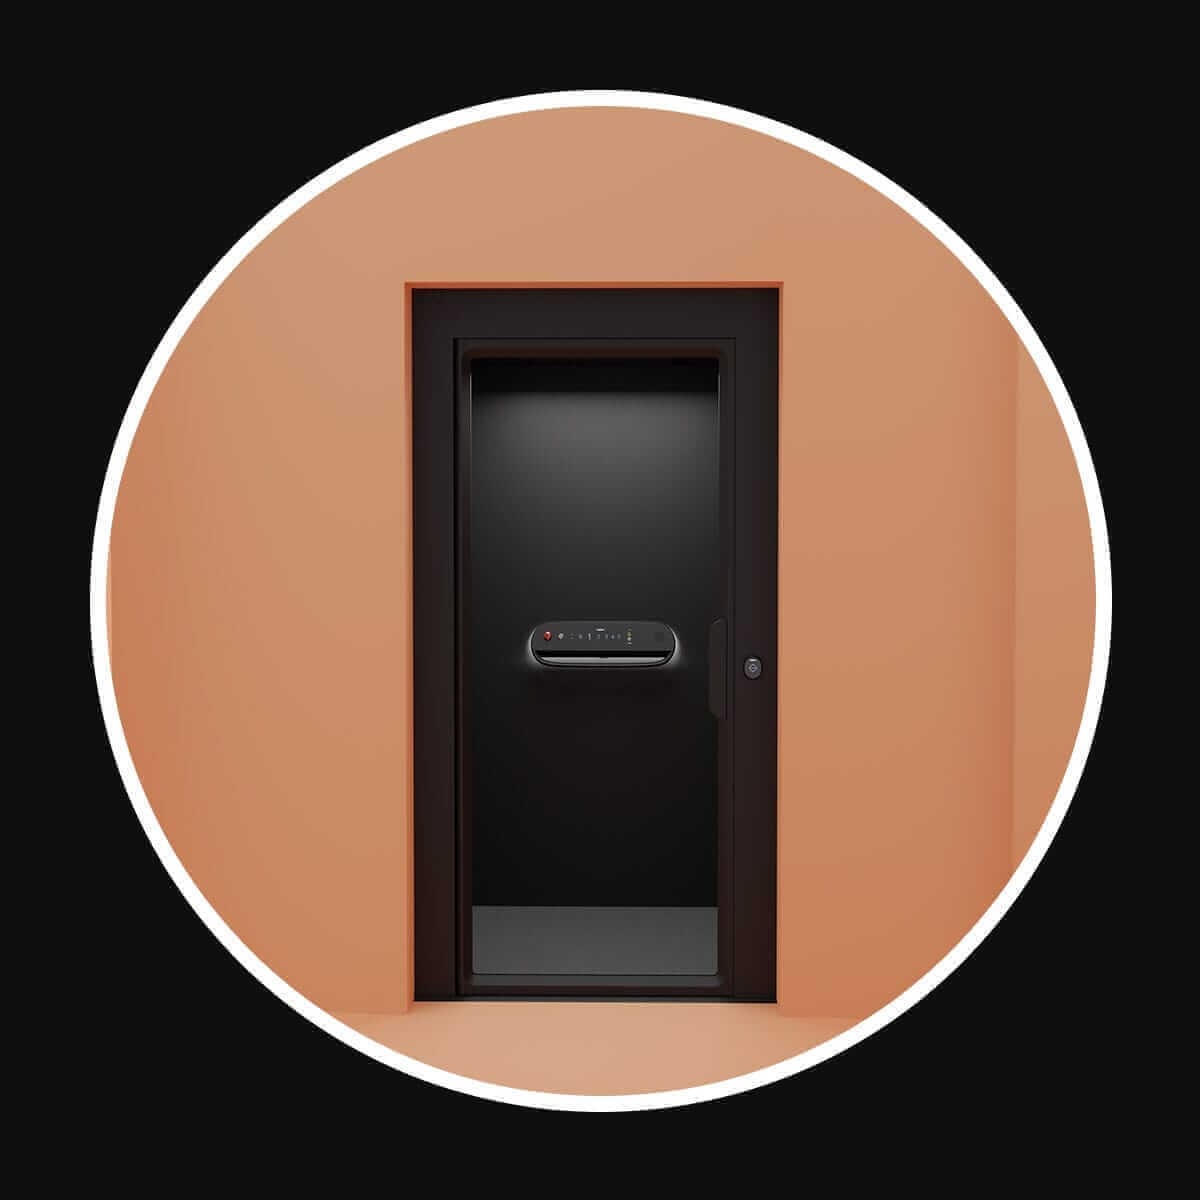
<p id=”v90-selector-onx50″ style=”text-align: center; font-size: 22px; color: #fff;”><span class=”underline-dark”>X80 Shaft Cabin Lift</span></p>
<p style=”text-align: center; font-size: 22px; color: #9dbaeb;”>X50 Platform Lift</p>
<p id=”v70-selector-onx50″ style=”text-align: center; font-size: 22px; color: #fff;”>X30 Shaft-less Cabin Lift</p>
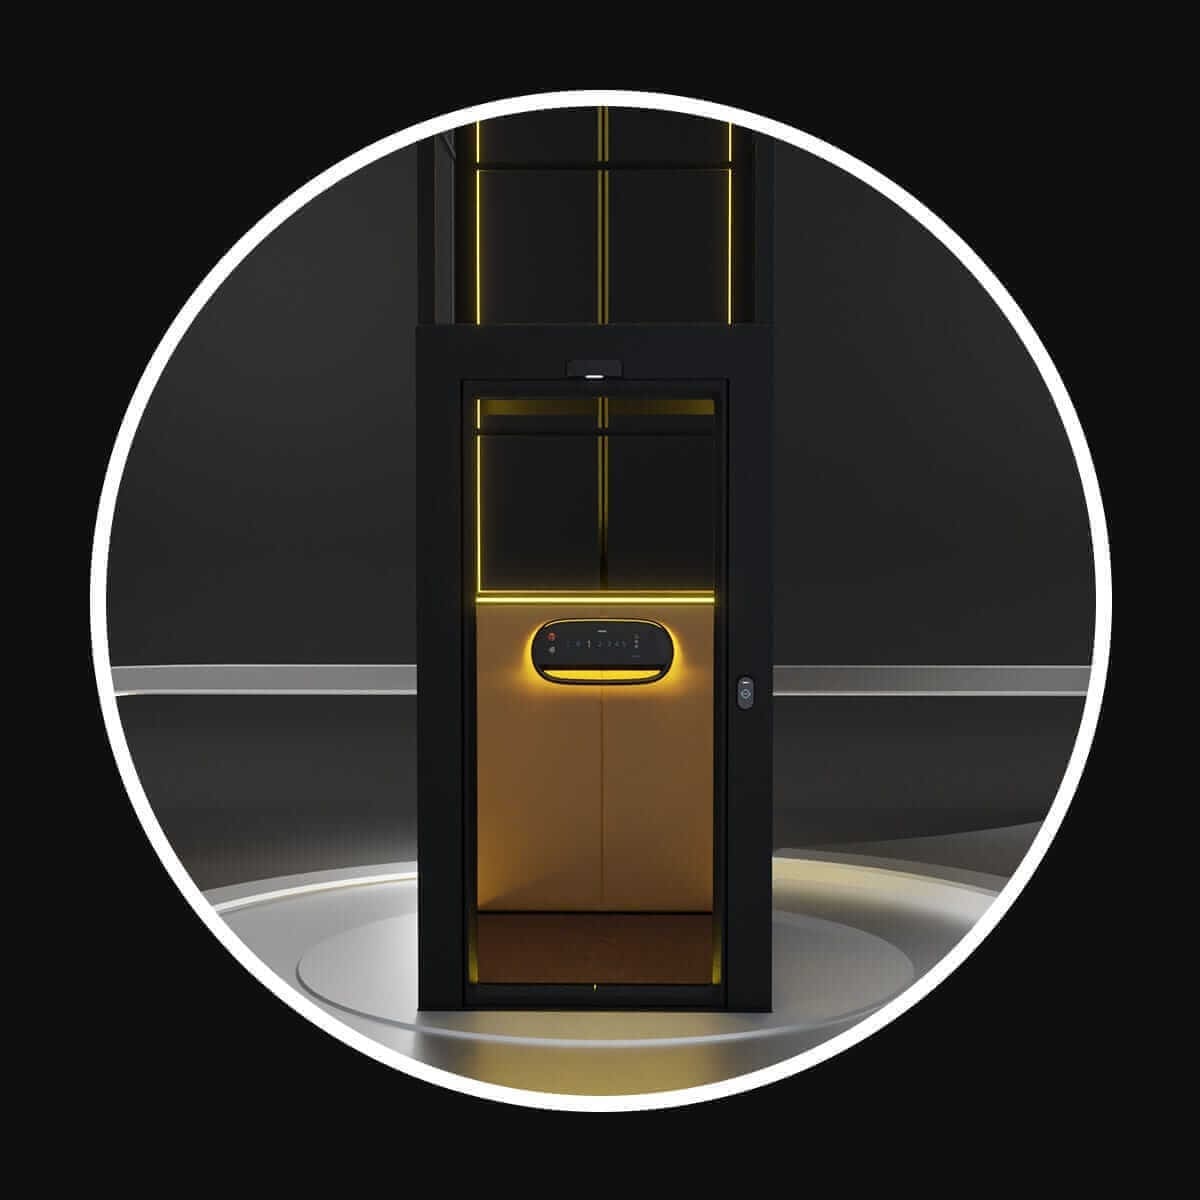
<p style=”text-align: center; font-size: 22px; color: #9dbaeb;”><span class=”underline-dark”>X80 Shaft Cabin Lift</span></p>
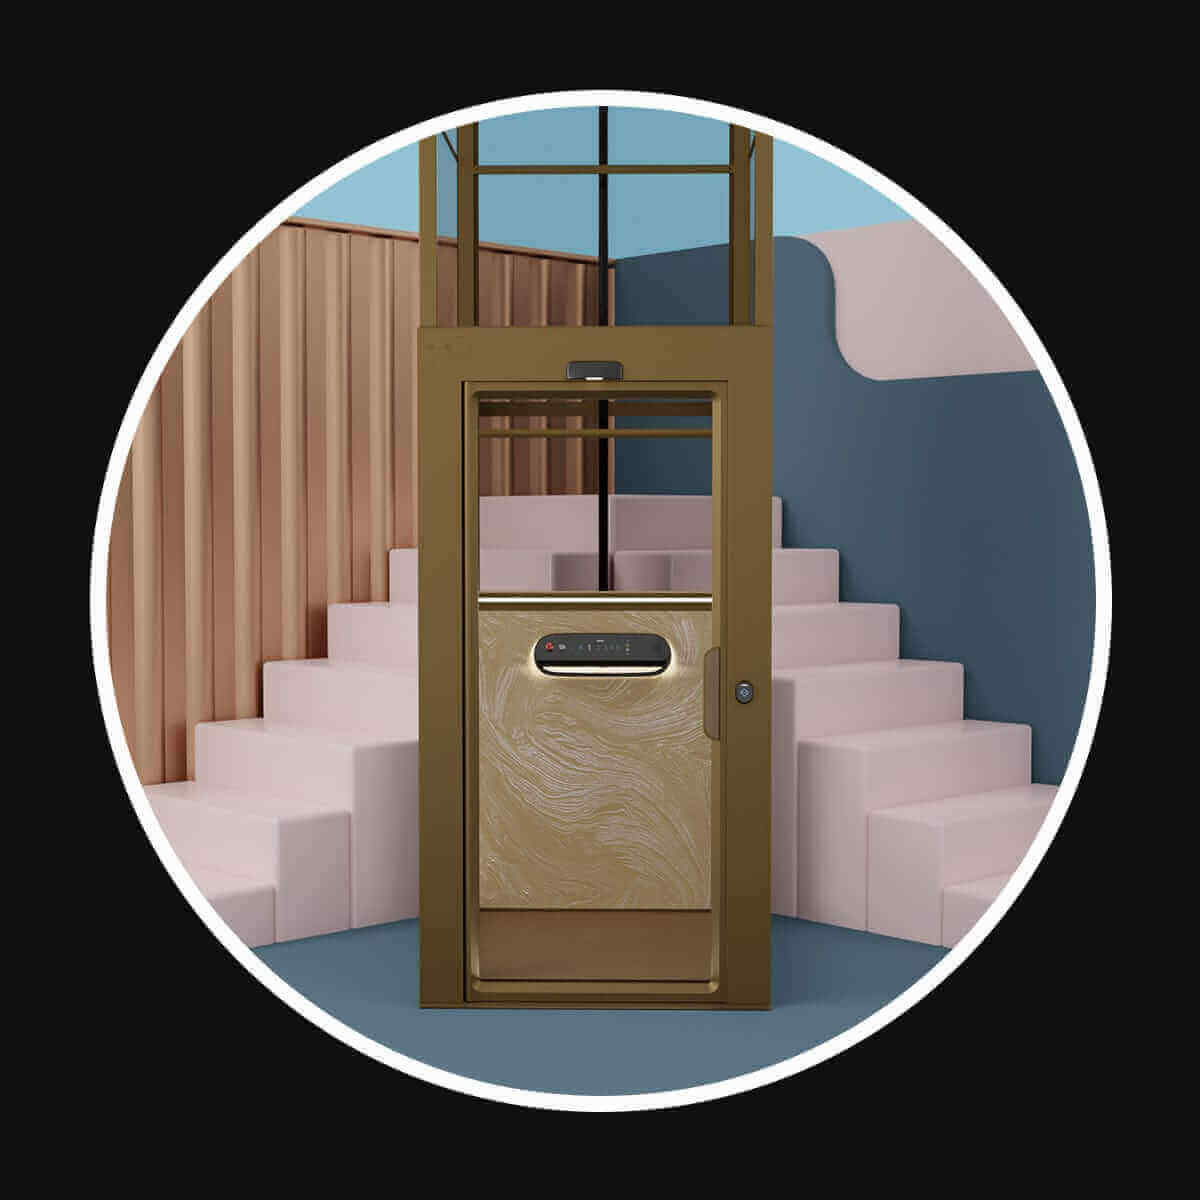
<p id=”x50-selector” style=”text-align: center; font-size: 22px; color: #fff;”>X50 Platform Lift</p>
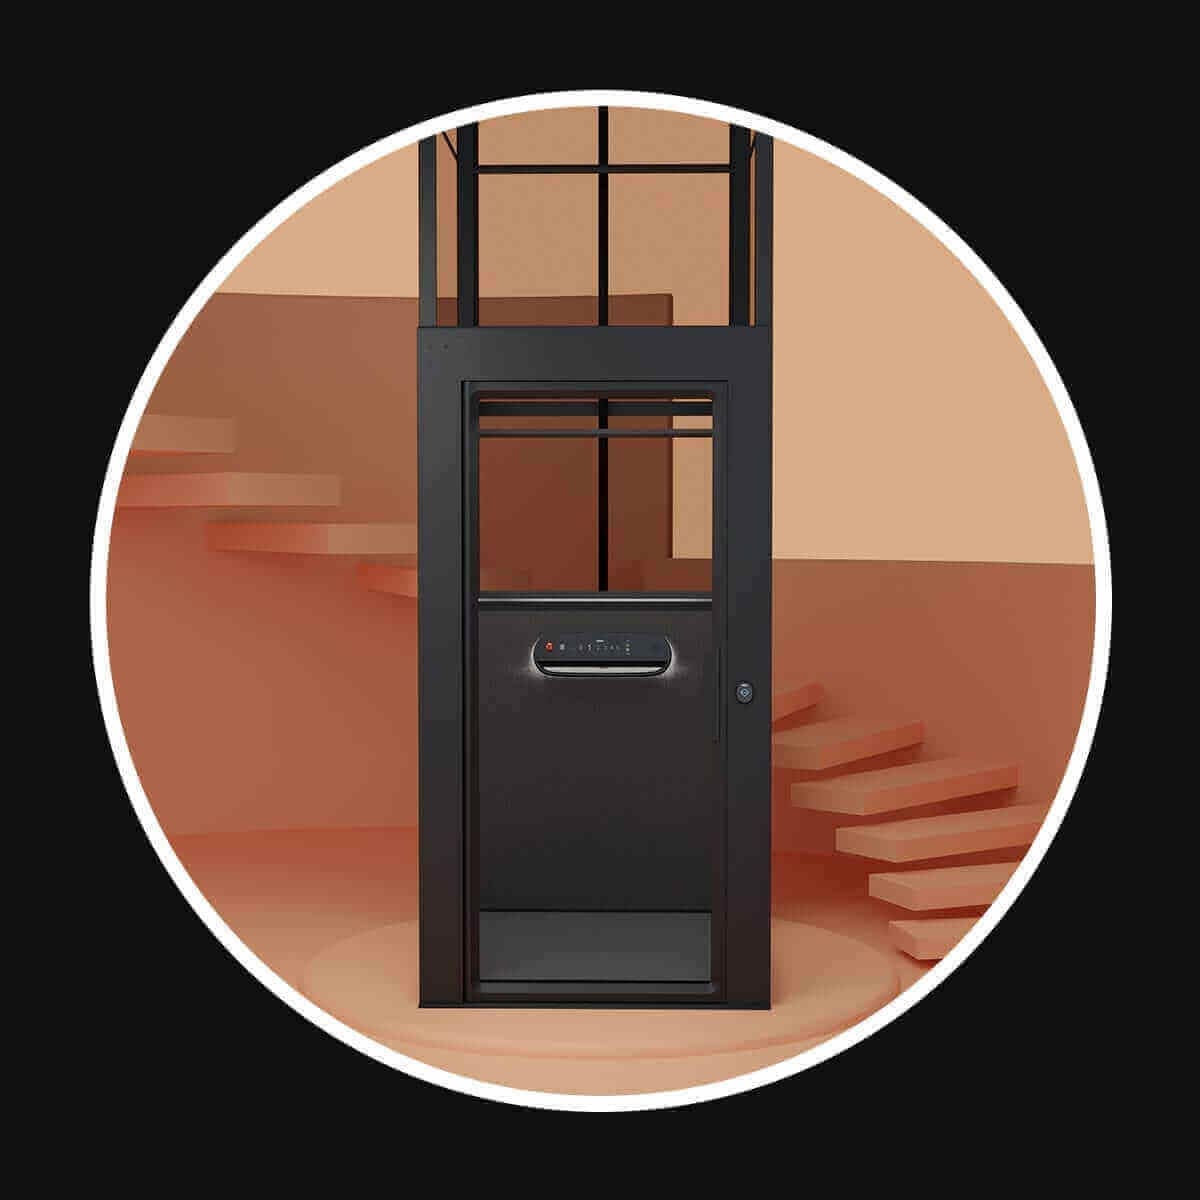
<p id=”v70-selector” style=”text-align: center; font-size: 22px; color: #fff;”>X30 Shaft-less Cabin Lift</p>
9 Tips for Installing a Home Lift in a Renovated Home
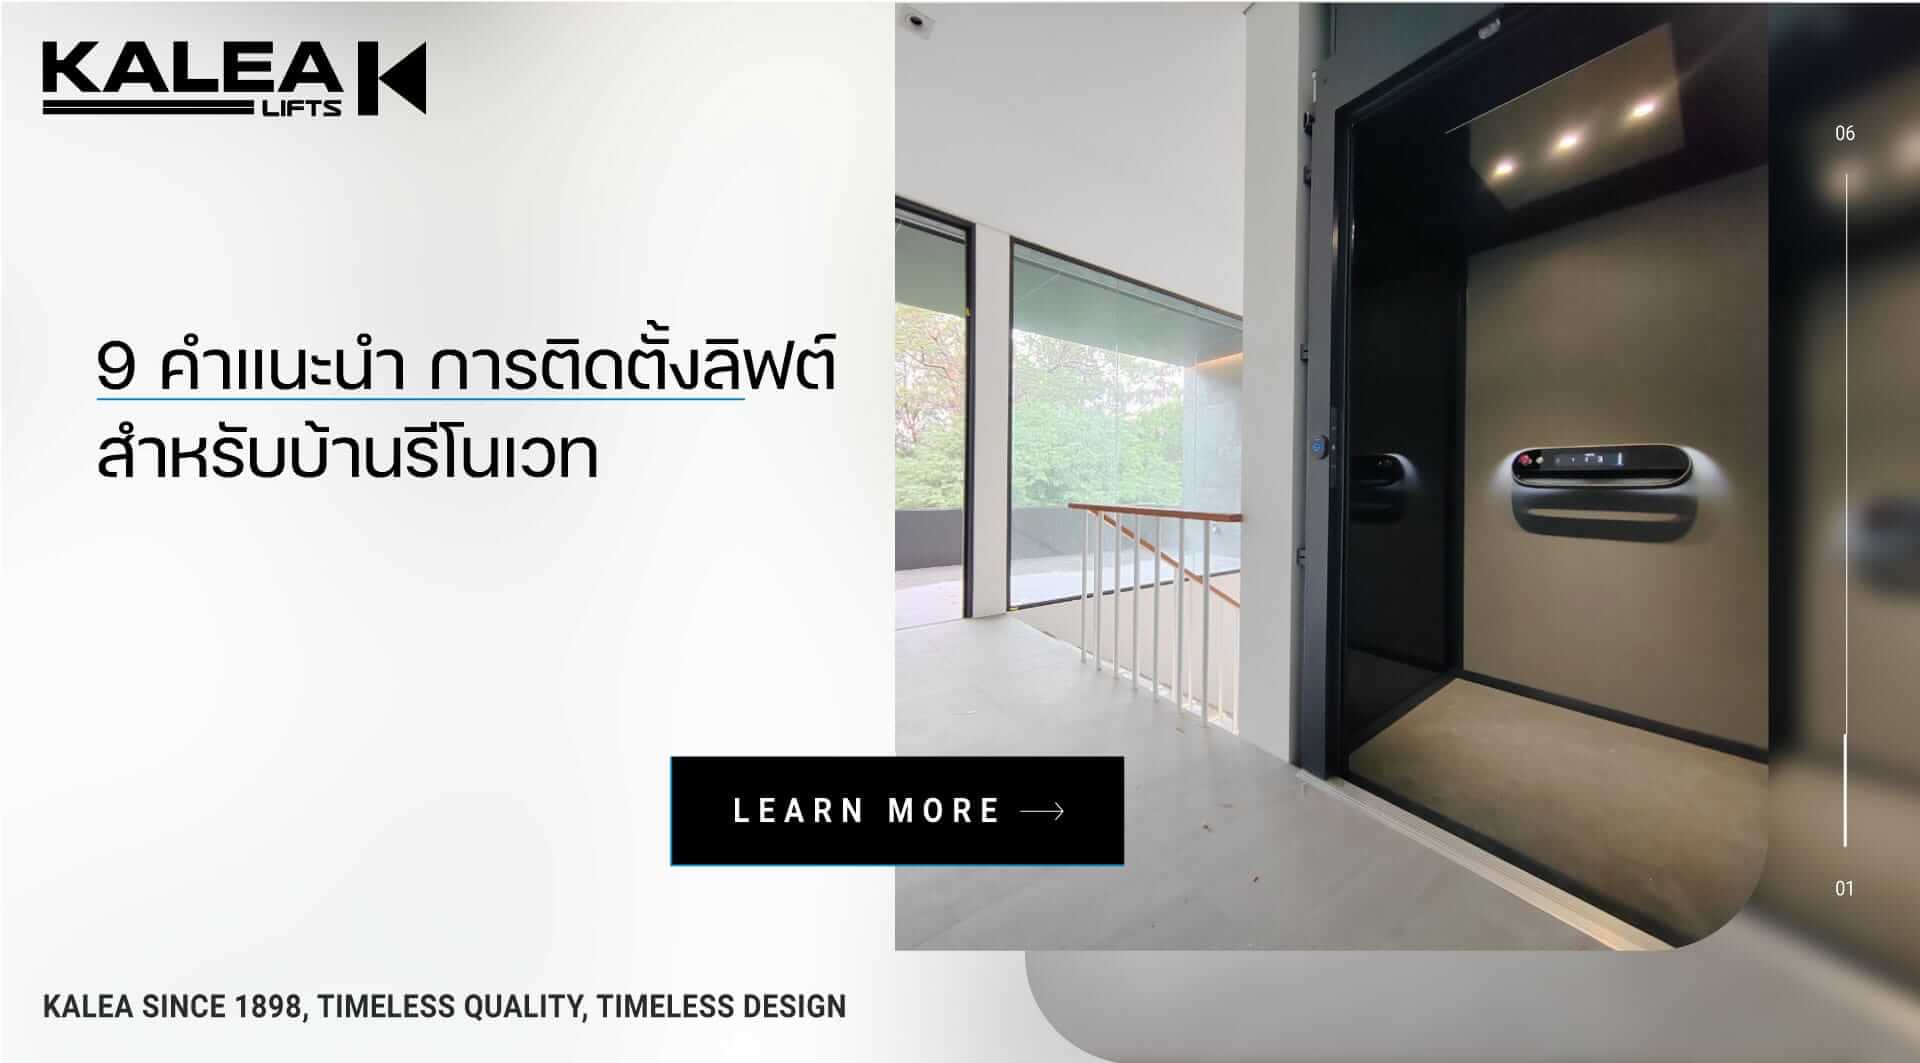
In today’s aging society, most newly built detached houses and townhouses are designed with lift space already in place. However, many homes built 5-7 years ago were not planned or designed for lifts. As the need and necessity for home renovations to install home lifts increases, homeowners or architects often wonder how to start or prepare the site. With over 120 years of experience in home lift installation, Kalea Lifts is happy to share our expertise to help you if you are in the process of planning a home lift installation for your family.
1. Gathering Information and Choosing a Home Lift
Research the types of lifts currently available on the market. Find out which lift systems are suitable for installation in existing homes, including the design, size, and price of each brand. Also, determine the minimum space required for a home lift to be installed. Screw-type lifts require the least installation space; they can be installed in an area of just 1 meter x 1 meter.
Home lift companies are generally divided into two categories:: Home lifts manufactured and imported from abroad, and home lifts manufactured in Thailand. The choice depends on the characteristics of each house and budget. When choosing a home lift, you should prioritize quality, safety, and longevity. We recommend choosing lifts manufactured and imported from abroad, especially screw-type lifts from Sweden by Kalea Lifts, which has over 120 years of experience in providing home lift services. They focus on quality and user safety and continuously develop innovations in screw lift systems.
Distinguished by its cabin design, there are two types:: Cabin and Platform types. Kalea Lifts offers both types to allow customers to choose the most suitable option for their needs and installation.

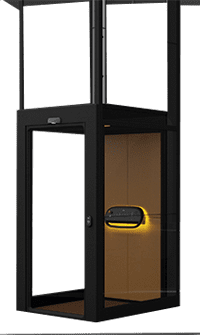
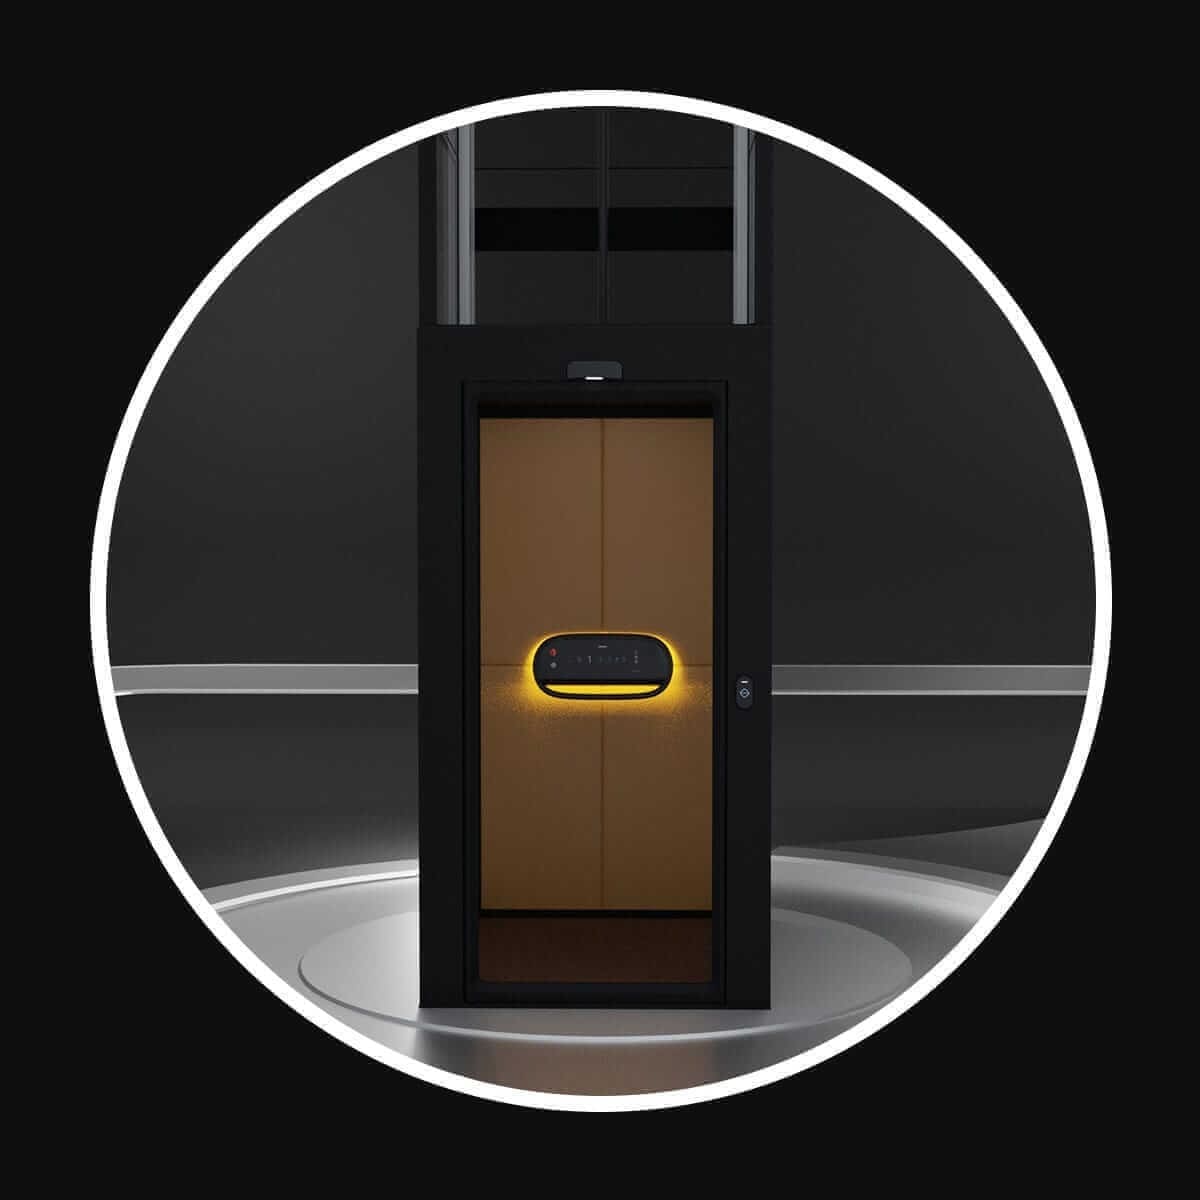
Kalea Lift Newest Model X80 Limited
Home lift systems come in several types, such as cable lifts,hydraulic lifts, andscrew lifts.
The screw lift system from Sweden, manufactured and imported entirely by Kalea Lifts, requires less than 1 square meter of space for the smallest size lift. Site preparation is easier than other lift systems, and installation takes only 7-14 days.

2. Determining the Home Lift Installation Location
Based on the information about lift types you previously obtained, you need to observe and find the most suitable location for installing a lift in your home. You can choose from approximately 2-3 existing installation points within your house. Then, consult a reputable and standardized lift company for further advice.
Suitable Locations for Home Lift Installation The most suitable location is in the middle of the staircase. Because this is the most open space inside the house that is often unused, if this area is insufficient, architects or contractors can consider cutting the staircase to create space for installing a lift. If installing the lift in the middle of the staircase, it is recommended to choose a lift with a glass shaft on all sides, which will make the house look more spacious, airy, and beautiful than a lift with a solid shaft.
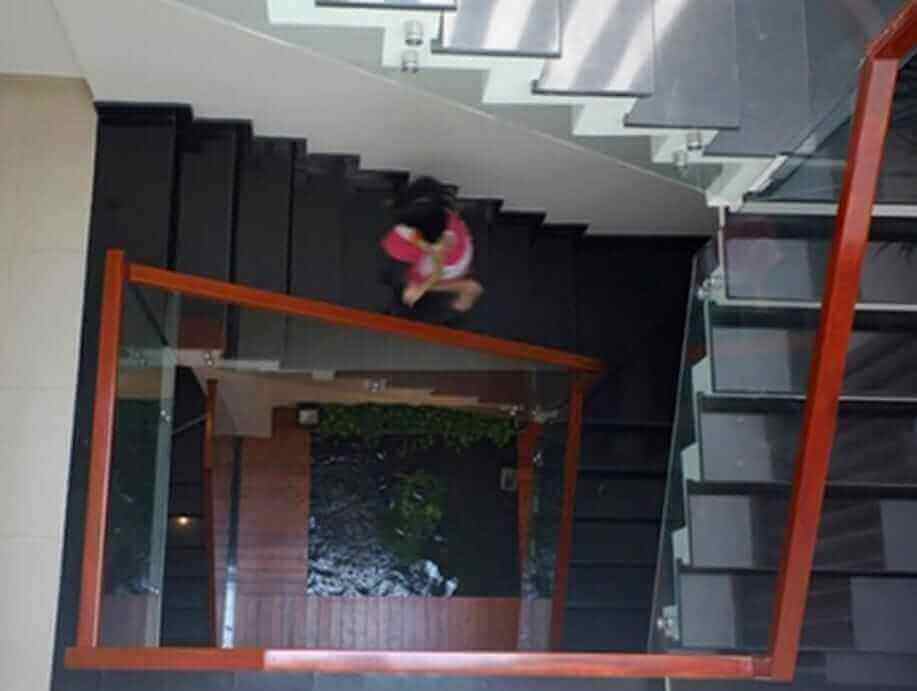
Lift installation point in the middle of the staircase
Home lift installation at the corner of the house In this location, Kalea Lifts can choose to design the glass shaft to be solid in the sections adjacent to the house walls and transparent in the open areas to make the lift and the house look more beautiful and airy. Furthermore, they offer over 200 lift colors to match the house’s decor.

A small lift is ideal for homes.
Installing a home lift next to or opposite the stairs. This makes the house look more unique and makes it easy for residents to use the lift because it’s close to the stairwell.

A lift mounted next to the stairs.
Installing an outdoor lift with the lift door inside the house (Semi-Outdoor). This installation location requires the least site preparation and allows for more lift size options than indoor installations, as indoor installations have limitations in drilling and cutting the floor on each level to prepare the lift shaft due to house beam issues.

Outdoor lift.
3. Preparing the home lift pit.
The depth of the lift shaft preparation varies depending on the type of lift. With current lift technology, such as screw-type home lifts, they can be installed directly on the floor without a lift shaft. They can simply be placed on the floor and a 60mm ramp added to the lift door for wheelchair access, or to allow the lift to stop parallel to the floor by dropping it 60mm. This allows for a beautiful and safe lift installation.
Constructing a lift shaft is relatively easy and requires pouring concrete on 5 sides (4 around and the bottom) to ensure leak prevention.
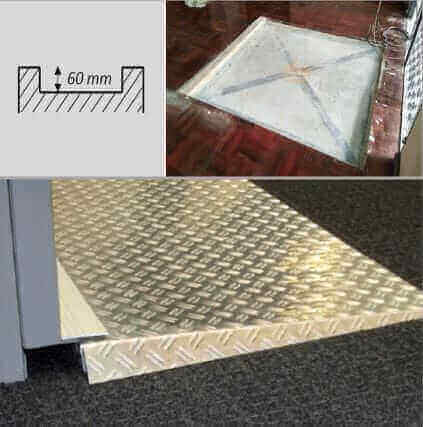
4. Lift Shaft Preparation
Some lift types, such as screw and hydraulic lifts (some brands), come with a lift shaft, which is convenient for customers as they don’t need to prepare the shaft on-site. However, we recommend screw lifts, which have European safety standards, require less maintenance (only 1-2 times per year), and have a lifespan of 25-30 years.
But cable and hydraulic lifts do not come with a lift shaft. Customers will need to prepare the lift shaft or structure according to the information below to support the lift installation for operation;
• Construction of a concrete wall lift shaft
• Construction of a steel frame

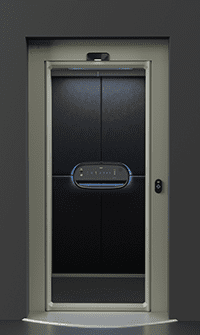
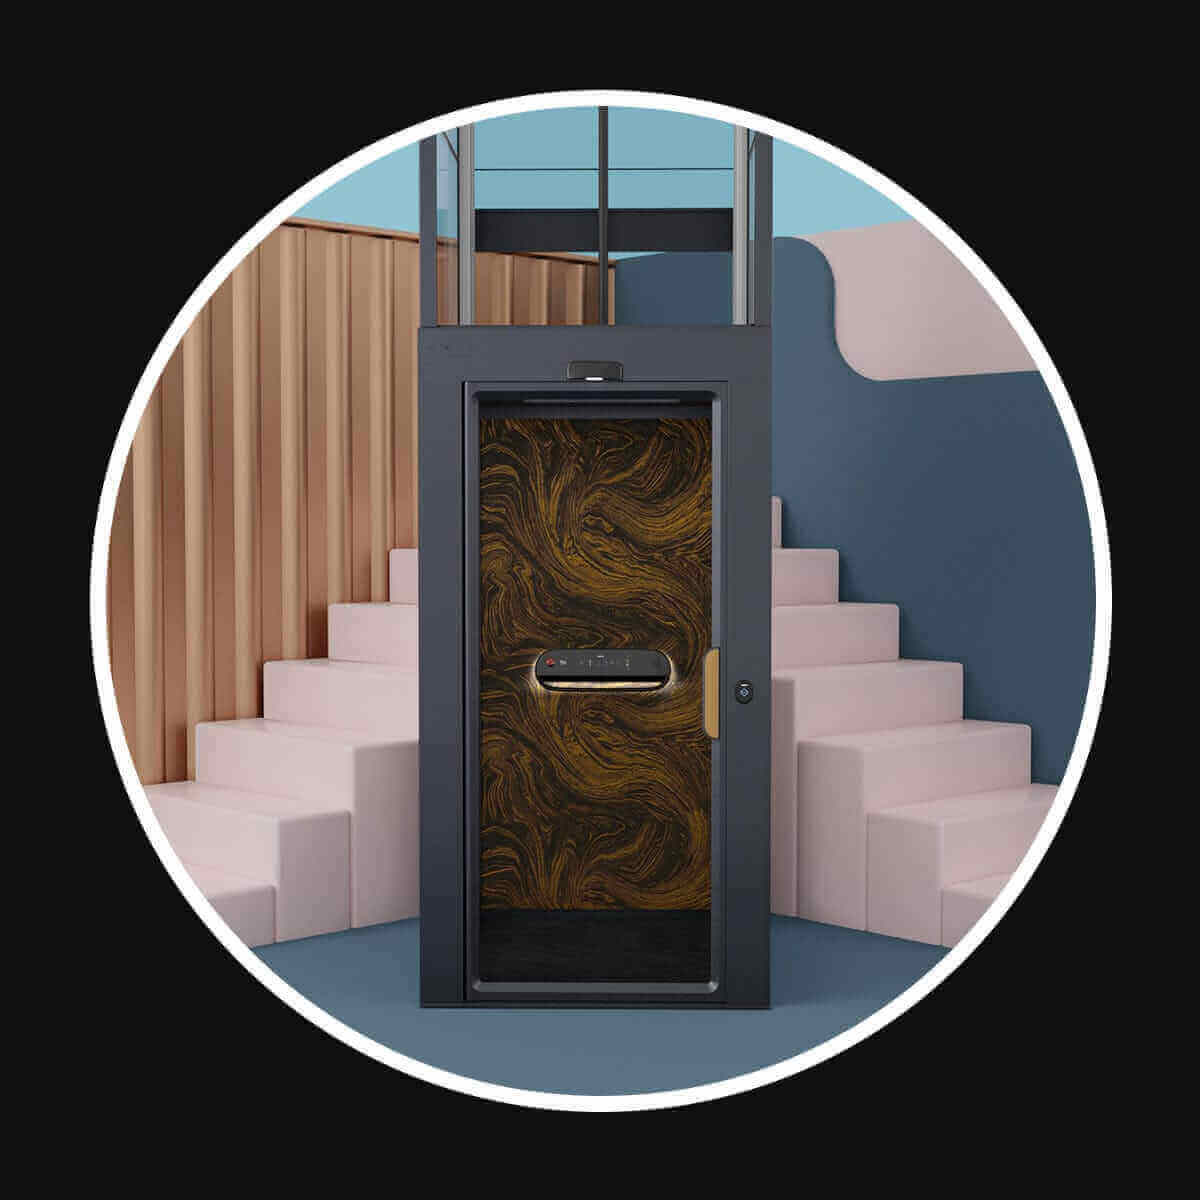
Kalea Lift Newest Model X50 Limited
5. Preparing the Electrical System for the Home Lift
Home lifts can use either 1-phase or 3-phase electricity, depending on the weight load of the lift. 1-phase electricity (220V) is standard in Thailand, so you can prepare the wiring as most houses already have 1-phase electricity. However, if the lift requires 3-phase electricity (380V), you need to obtain permission from the electricity authority in your area for additional installation. The process is not overly complicated. Using 3-phase electricity for the lift will provide more power and stability during operation due to the higher power output. It is also essential to have a separate circuit breaker for the lift.

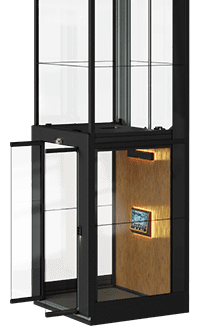
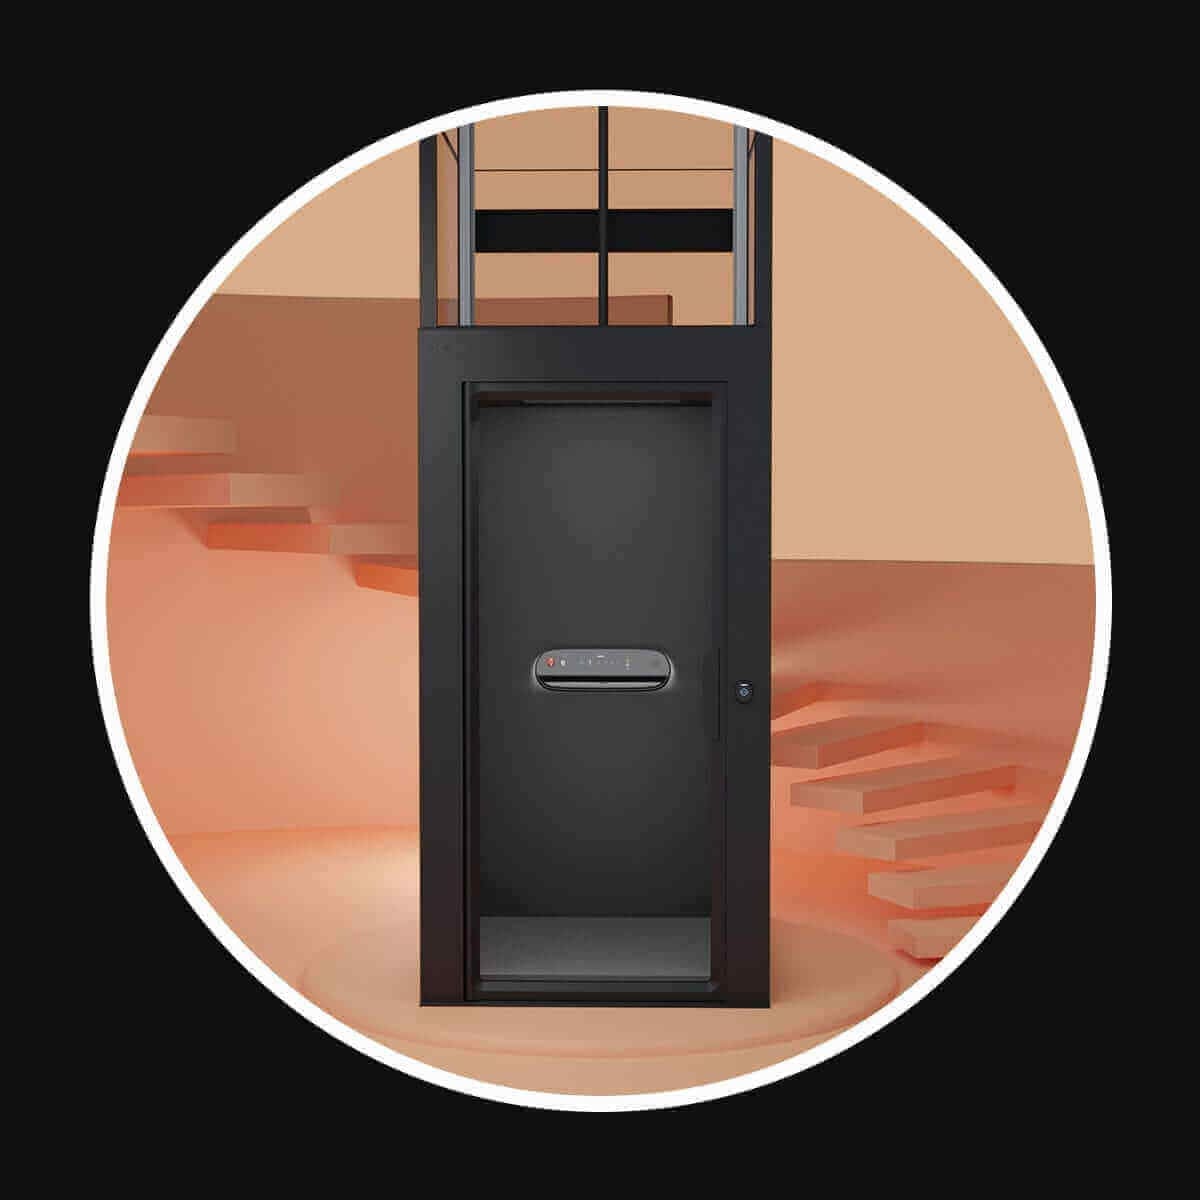
Kalea Lift Newest Model X50 Limited
6. Lift Delivery
After the home lift installation is complete for the customer. A thorough inspection of the lift installation and a functional test to ensure there are no problems is required before handover. This inspection must be conducted by both the lift company and the customer. After all checks are complete and no problems are found, both parties must sign a handover agreement. If the home lift company is reputable and has a long history of quality control, the installation will be done by specialized technicians, not outsourced workers. The quality of the lift will also undergo multiple checks before it leaves the factory.

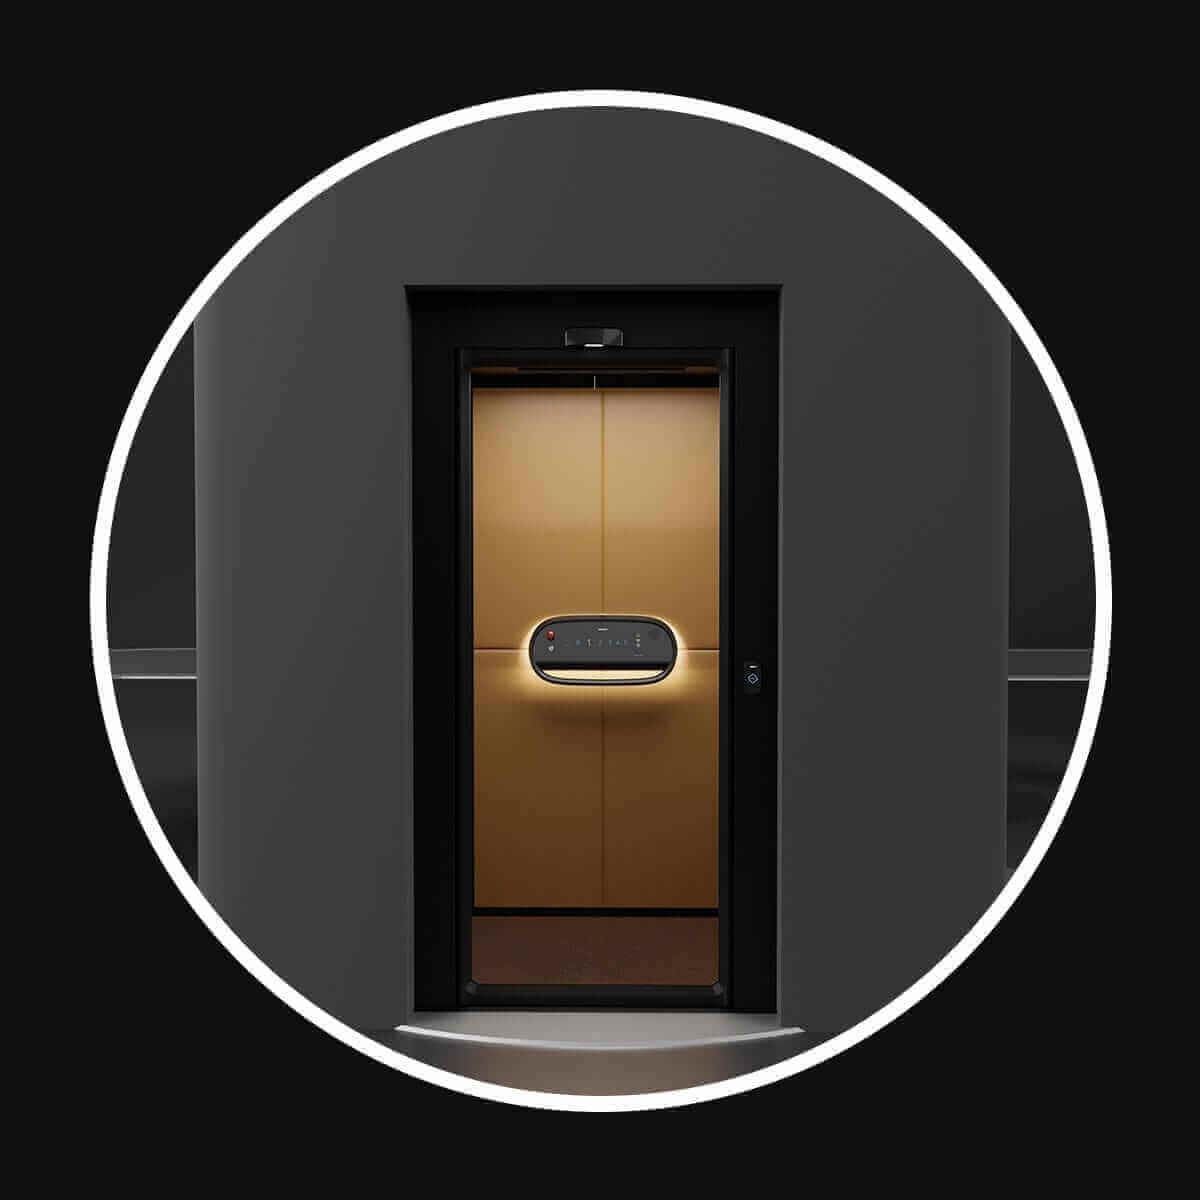
Kalea Lift Model Kosmos K90
7. Post-Installation Finishing Process
Generally, after lift installation, the homeowner’s interior will need to finish the edges of the lift doors on each floor, with a gap of approximately 30-100 mm. Various materials can be chosen for aesthetic purposes, including granite, gypsum, wood panels, aluminum, or glass.

Finishing the edges is a crucial step.
8. Post-Installation Warranty from the Lift Company
After installation is complete, the lift company must guarantee the lift and perform maintenance according to the schedule specified in the contract. For the customer’s benefit, it is advisable to inquire about and check the number of years of warranty and maintenance after installation, and the number of annual inspections. The frequency of inspections varies depending on the home lift system. For example, cable and hydraulic systems may require monthly or bi-monthly inspections, depending on the complexity of the system. Screw-type home lifts, especially those with Ecosilent technology, only require inspection once a year. This is because these systems are more intelligent and less complex than other systems. This is crucial for home lifts, as a home requires a high level of privacy for family members. Frequent lift inspections could compromise that privacy.
9. After-Sales Service for Lift Installation
Once installation is complete, customers should consider after-sales service. At KALEA Lift, our after-sales service is available 24 hours a day. This provides customers with peace of mind, as they can contact our staff immediately in case of any incidents, eliminating the worry of being trapped inside the lift.
————————————————————————————————————————————————————————————————
When thinking about home lift installation (Lift Installation Company), think of KALEA Lift. We sell lifts of various types, models, and sizes, with many options to choose from. Home lifts are ready to meet the needs of every home that requires a home lift that emphasizes high safety, ease of use, and customizable design. We have lifts with shafts, lifts that can be installed in existing shafts, penthouse lifts, lifts that don’t require a pit or machine room, swing doors, sliding doors, 5-sided glass shafts, and various floor locking systems.

KALEA Lift Showroom
Contact us today for more advice on home lifts and after-sales service.
We are always ready and happy to help! You can contact us for more information or receive a free catalog.
If you want to read more articles like this, please click here. Our blog area also has other informative articles.
And interesting knowledge awaits you to read.
Quick answer: 9 Tips for Installing a Home Lift in a Renovated House
Choose a home lift by starting with the users, available space, number of stops, entrance direction and whether the building already has a suitable shaft. Then compare the drive system, rated load, pit and headroom requirements, safety standard, service support and total installation scope.
Related resources: Compare home lift options | Contact KALEA Lift & ANTERA Lift Thailand